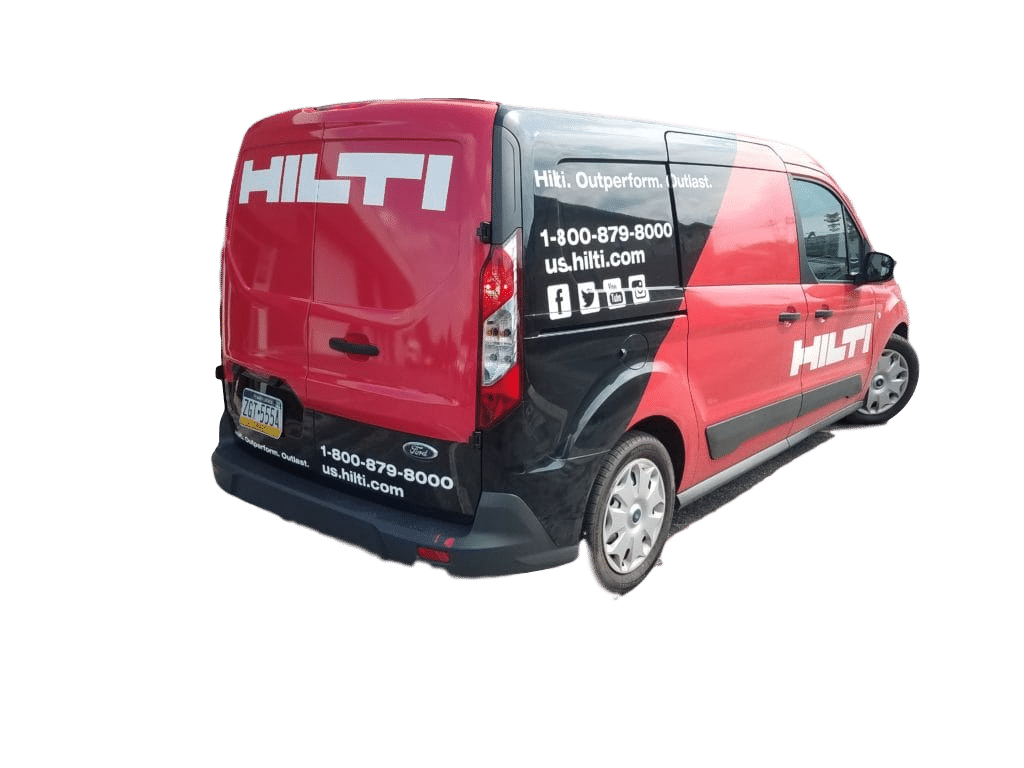
Vehicle Graphics Get Attention
According to the Outdoor Advertising Association of America (OAAA), a single vehicle wrap can expect 30,000 to 80,000 views per day.
Vehicle graphics are the pound-for-pound heavyweight champion of outdoor marketing channels.
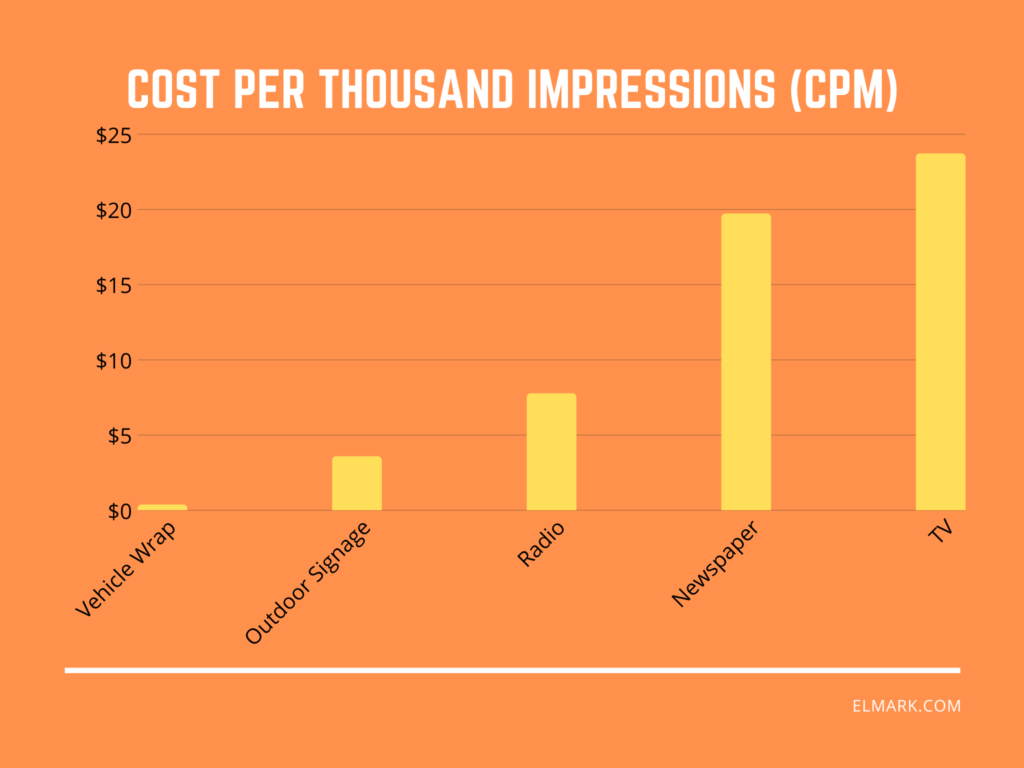
The chart below compares Cost Per Thousand Impressions (CPM) of vehicle advertising to other forms of marketing. The results are staggering. With a cost of only $0.35 per thousand views, vehicle wraps are 56 times more effective than placing an ad in the newspaper and 20 times more effective than a radio ad.
How are Vehicle Wraps made?
An effective vehicle wrap begins by creating the design file. The design can make or break the value of your investment, so it’s important to get this part right.
Once the design is finalized, it is printed on vinyl and then laminated to protect the print from the elements (especially the sun).
Trained installers will then prepare the vehicles surface with industry specific cleaning products to ensure all dirt and oils are removed. This is important, as dirt/oil can impair the vinyls ability to adhere to the vehicle.
Once prepped, the installers will use squeegees to apply the vinyl directly over your vehicles paint. The vinyl will then be heated with a heat gun, in a process called “post heating,” to ensure maximum adhesion.
Measuring Your Vehicle for a Wrap
As the design file begins the production process, the measurement of your vehicle begins the design process. Having completely accurate measurements are crucial to a successful wrap installation. At Elmark, we use a proprietary software which gives us accurate templates of thousands of vehicles. If you are doing the measuring on your own here are some important tips:
- Get a clear, straight-on picture of each side of the vehicle.
- Always measure along a body line or some other visible feature so that we can ensure our proportions are correct.
- Measure each side of the vehicle to be lettered. Note that differing lengths on the passenger and driver sides is normal, so make sure you provide measurements for both.
- Be very accurate, down to the 1/8″. Measure from crack to crack, or feature to feature.
For examples of how to properly measure and photograph your vehicle, check out the photos below.
If you need any assistance measuring your vehicle or have questions before you get started, do not hesitate to contact us. You can also request a quote online.