
How do I Measure my Wall for a New Sign?

Measuring a wall space for a new sign is an important step in creating professional, attractive, and properly fitted signage. Accurate measurements help ensure the sign is appropriately sized for the space, visually balanced, and free from installation complications. Beyond simply measuring width and height, it is also essential to document wall conditions, lighting, colors, and any obstacles that could interfere with placement. By following a careful, step-by-step process, businesses and property owners can provide sign designers and installers with the information needed to create a successful final product.
Prepare the Space and Gather Basic Measurements
The first step in measuring a wall space for a new sign is preparing the area and gathering the necessary tools. A tape measure, laser measure, notepad, camera, and level are all helpful for collecting accurate information. Before measuring, it is important to clear the area as much as possible so the wall can be fully inspected and documented.
Once the wall is accessible, begin by measuring the total width and height of the available space. These measurements establish the maximum dimensions for the sign and help determine the overall layout. Measurements should be taken carefully and recorded in consistent units, such as inches or feet. It is also useful to measure the height from the floor to the intended sign placement area, especially for interior lobby signs or wall graphics.
Photographs of the wall should also be taken during this stage. Wide-angle photos help designers understand the surrounding environment, while close-up images provide detail about textures, lighting, and nearby architectural features. Including dimensions directly on printed photos or sketches can make the information even more useful during the design process.
Identify and Measure Obstacles
After the basic wall dimensions are recorded, the next step is identifying obstacles that could affect the sign’s placement or visibility. Common wall obstacles include light switches, electrical outlets, thermostats, fire alarms, sprinkler heads, vents, security panels, and wall-mounted fixtures. These items should not only be noted but also carefully measured and documented.
Each obstacle should be measured in relation to the wall dimensions. For example, record how far a fire alarm is from the nearest edge of the wall and how much space it occupies. This information allows sign designers to avoid conflicts with safety equipment and maintain a clean, balanced appearance. Even small obstacles can create installation challenges if they are overlooked during planning.
Doors, windows, moldings, and trim should also be documented because they influence spacing and alignment. If a sign is intended to be centered above a reception desk or doorway, accurate measurements of these nearby architectural elements are essential. Taking detailed notes during this stage can prevent costly revisions or installation delays later in the project.
Evaluate Wall Surface and Lighting Conditions
The condition of the wall itself is another important factor when planning a sign installation. The smoothness and overall quality of the wall finish can affect how well certain sign materials adhere or mount. Walls with excessive texture, dents, cracks, or imperfections may require additional preparation before installation can begin.
It is helpful to note how smooth the wall surface is and whether imperfections appear throughout the wall or only in specific areas. Vinyl graphics, acrylic panels, and dimensional lettering often perform best on smooth and even surfaces. Uneven walls may require special mounting techniques or additional hardware to ensure the sign sits properly and securely.
Lighting conditions should also be evaluated carefully. Existing lighting can dramatically affect how a sign appears once installed. Note the amount of lighting on the wall, the consistency of illumination, and whether there are shadows, glare, or dark areas. Natural light from windows and artificial light from overhead fixtures should both be considered because they influence readability, color appearance, and overall visibility.
Document Existing Colors and Design Elements
The final step in measuring a wall space is documenting the existing colors and design features surrounding the installation area. The color and sheen (e.g., matte, satin, gloss) of the wall, doors, moldings, trim, flooring, and nearby furniture all contribute to the overall visual environment. Recording these details helps sign designers create signage that complements the space instead of clashing with it.
Color notation is especially important when designing interior signs or branded wall graphics. A sign that looks attractive on a computer screen may appear very different against a dark-colored wall or brightly painted trim. By documenting the exact tones and finishes already present in the space, designers can select colors and materials that enhance visibility and maintain brand consistency.
This stage is also a good opportunity to consider the overall balance and proportion of the future sign. Designers may use the measurements, photos, and color notes to create scaled mockups that show how the sign will look in the actual environment. Careful documentation helps ensure the finished product feels integrated into the space rather than appearing oversized, undersized, or visually disconnected.
Properly measuring a wall space for a new sign involves much more than recording simple dimensions. A thorough process includes measuring the wall, documenting obstacles, evaluating surface quality and lighting, and noting existing colors and architectural details. By taking these steps carefully and chronologically, businesses can provide accurate information that helps sign professionals design and install signage that is attractive, functional, and perfectly suited to the space.
Planning your next signage project? Give us a call at (610) 692-0525 or tell us about your project online.
Our Signs
Explore custom signs by category and see what's possible.

ADA & Braille Signs
%201.avif)
Acrylic Panel Signs
Carved Signs

Dimensional Letters

LED Illuminated Signs

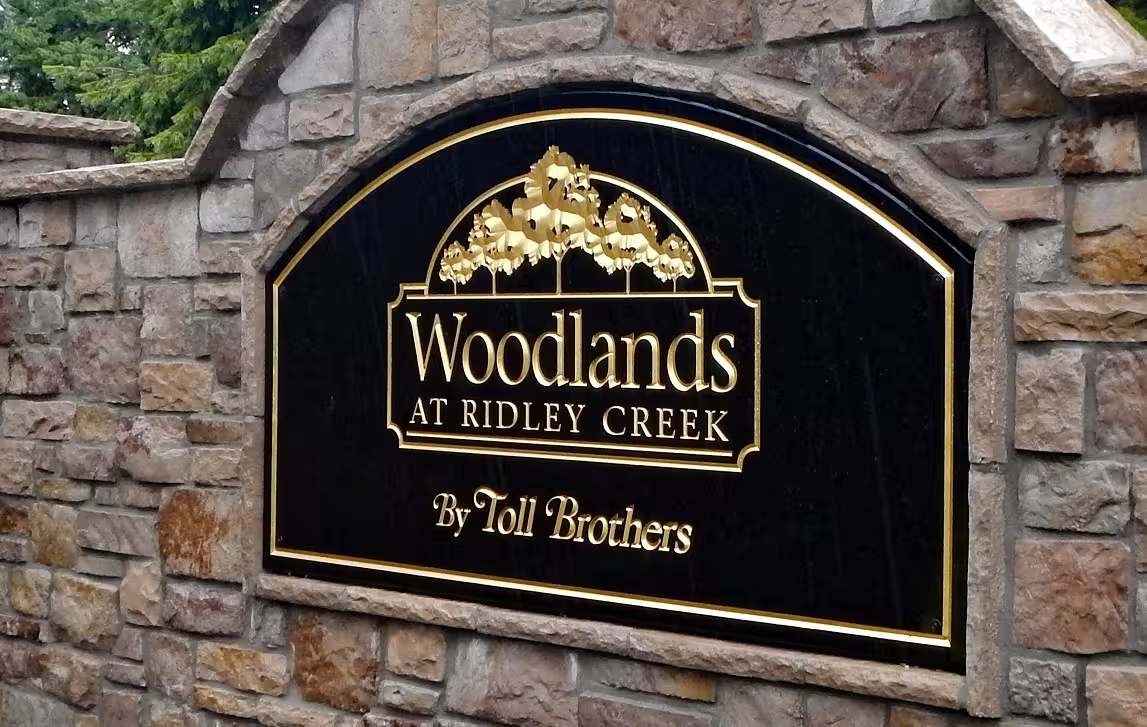
Monument Signs
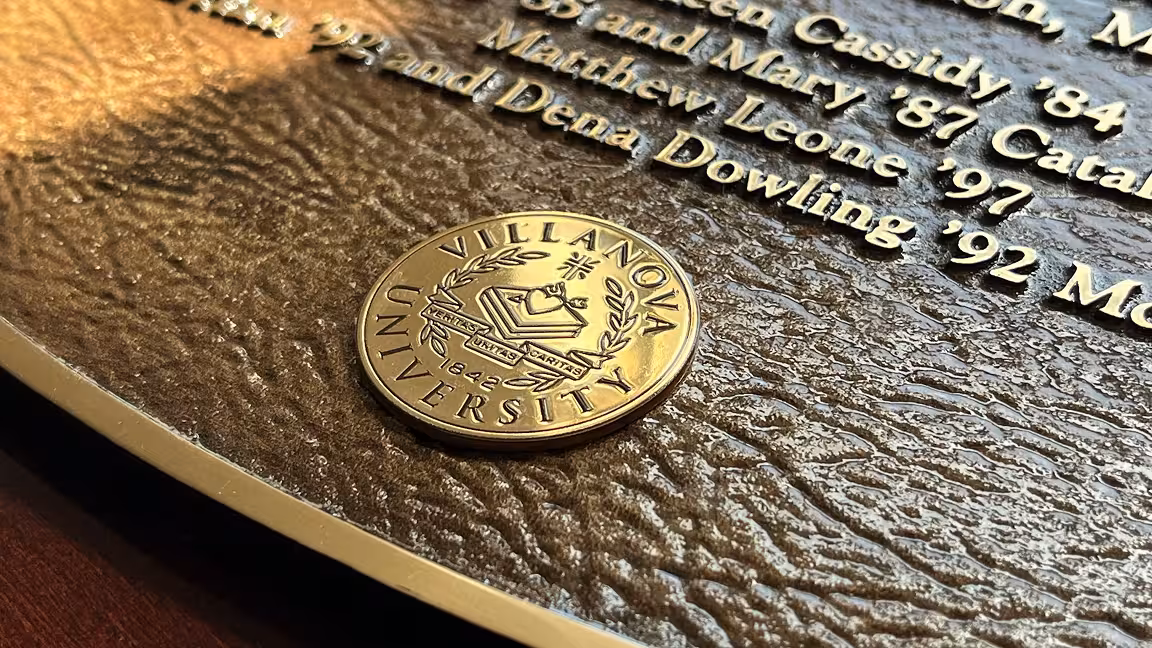
Plaques

Vehicle Wraps & Lettering
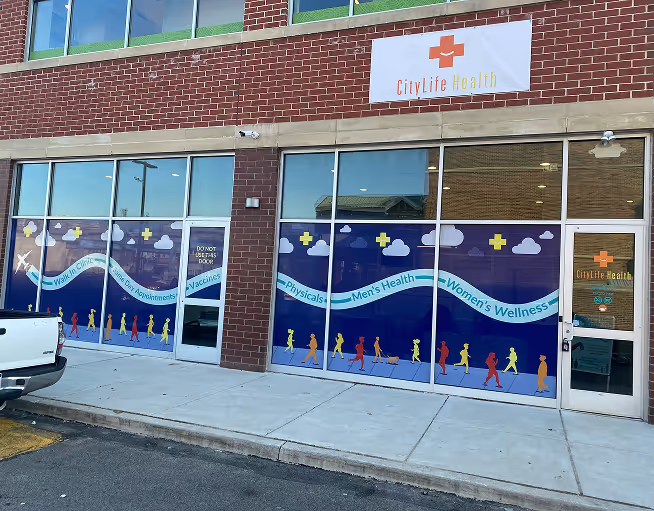
Wall & Window Vinyl
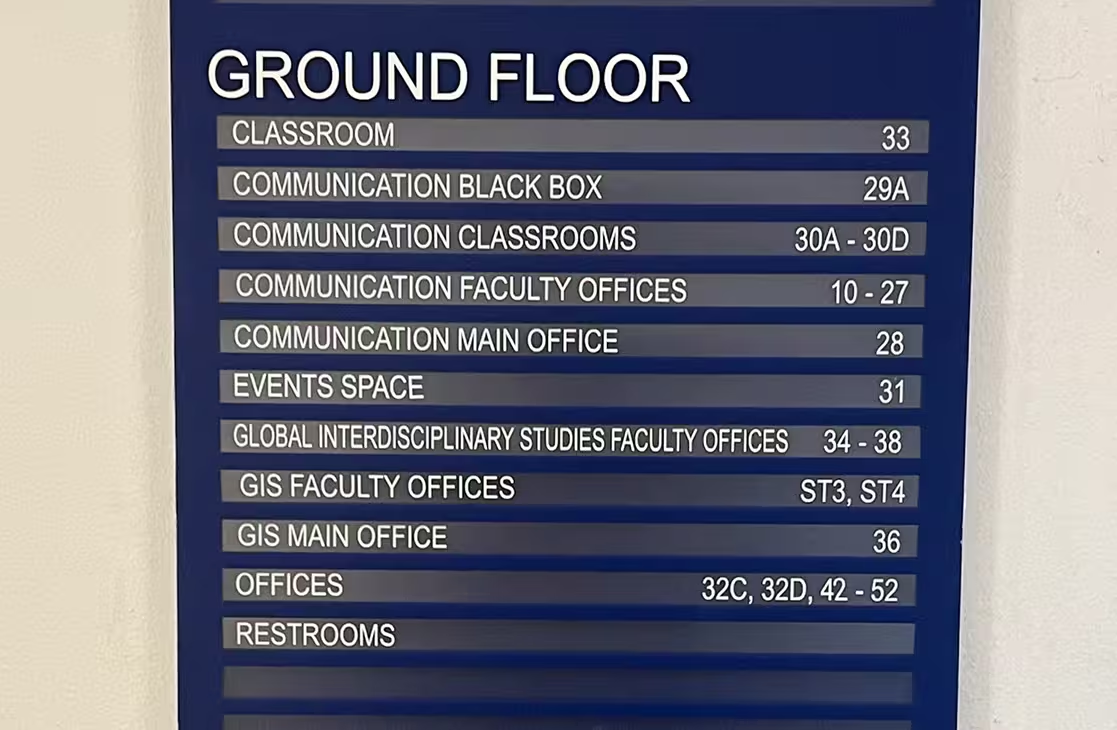
Wayfinding Signs
Let Us Make Your Perfect Sign
Main Office

Tell us about your project