
How to Measure a Vehicle for Vinyl Graphics
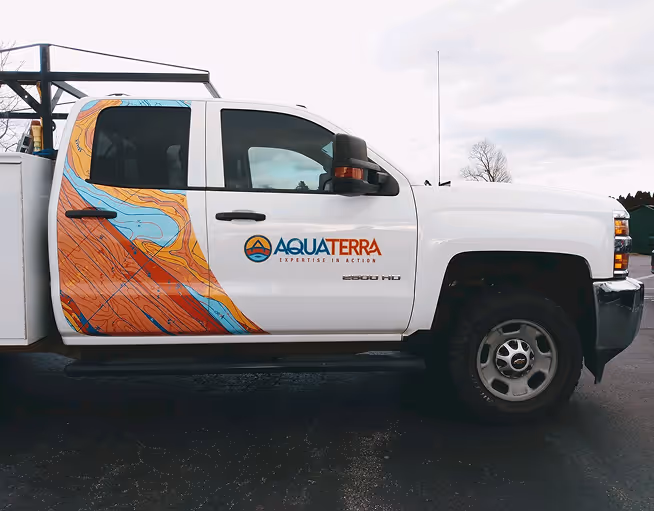
A well-executed vehicle wrap turns everyday driving into continuous advertising. Whether the vehicle is parked at a job site or moving through traffic, it keeps your business visible without ongoing media costs. That makes accuracy especially important. A design that looks great on screen but doesn’t fit the actual vehicle can lead to wasted material, awkward cropping, or reduced visibility of key branding elements like logos and phone numbers.
Vehicle wraps are also flexible in how they are used. Some businesses choose full wraps that cover the entire vehicle for maximum impact, while others use partial wraps or simple vinyl lettering to highlight contact information and branding. No matter the style, the success of the wrap depends heavily on how well the design matches the exact dimensions and contours of the vehicle.
Vehicle Graphics Get Attention
According to the Outdoor Advertising Association of America (OAAA), a single vehicle wrap can expect 30,000 to 80,000 views per day.
Vehicle graphics are the pound-for-pound heavyweight champion of outdoor marketing channels.
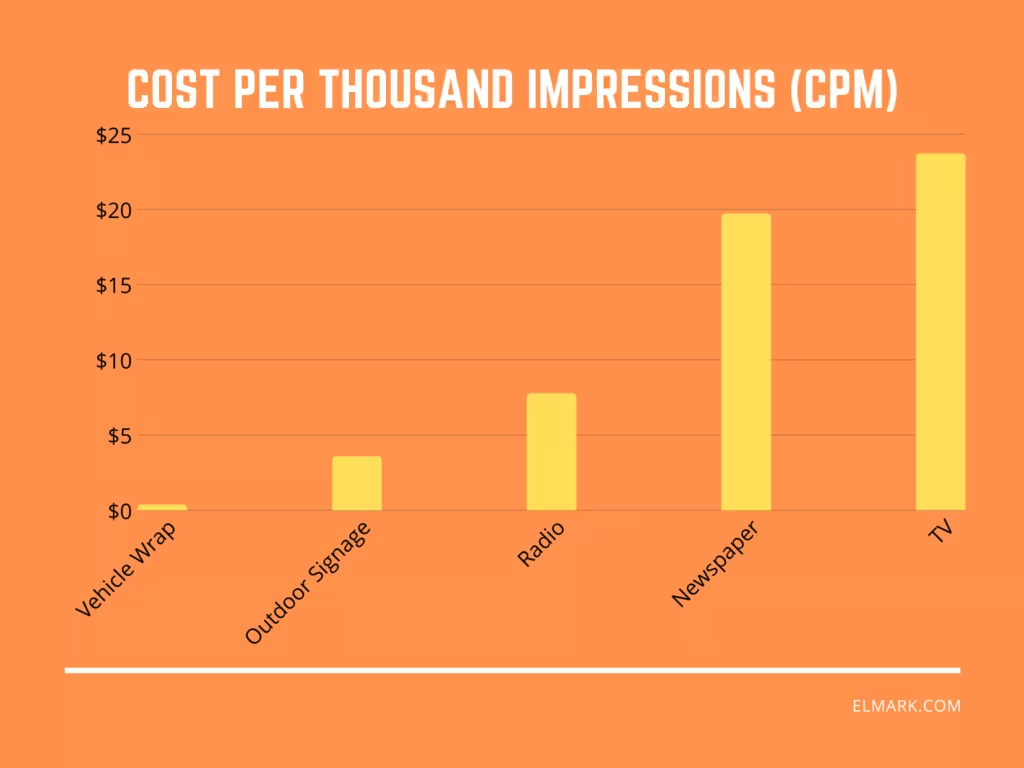
The chart compares Cost Per Thousand Impressions (CPM) of vehicle advertising to other forms of marketing. The results are staggering. With a cost of only $0.35 per thousand views, vehicle wraps are 56 times more effective than placing an ad in the newspaper and 20 times more effective than a radio ad.
Beyond the numbers, vehicle graphics work because they move through real communities. Unlike static billboards, they reach people at intersections, job sites, parking lots, and neighborhoods. This repeated exposure builds familiarity over time, which helps increase brand recognition and trust. A well-designed wrap can make a small business feel larger and more established simply through consistent visibility.
How are Vehicle Wraps made?
An effective vehicle wrap begins by creating the design file. The design can make or break the value of your investment, so it’s important to get this part right. Once the design is finalized, it is printed on vinyl and then laminated to protect the print from the elements (especially the sun).
Trained installers will then prepare the vehicles surface with industry specific cleaning products to ensure all dirt and oils are removed. This is important, as dirt/oil can impair the vinyl's ability to adhere to the vehicle. Once prepped, the installers will use squeegees to apply the vinyl directly over your vehicles paint. The vinyl will then be heated with a heat gun, in a process called “post heating,” to ensure maximum adhesion.
Each of these steps depends on accurate measurements from the very beginning. If the wrap is even slightly off, installers may need to stretch or trim vinyl in ways that affect the final look. That’s why the measurement stage is just as important as design and installation—it sets the foundation for everything that follows.
Measuring Your Vehicle for a Wrap
As the design file begins the production process, the measurement of your vehicle begins the design process. Having completely accurate measurements are crucial to a successful wrap installation. At Elmark, we use a proprietary software which gives us accurate templates of thousands of vehicles. If you are doing the measuring on your own here are some important tips:
1. Get a clear, straight-on picture of each side of the vehicle.
2. Always measure along a body line or some other visible feature so that we can ensure our proportions are correct.
3. Measure each side of the vehicle to be lettered. Note that differing lengths on the passenger and driver sides is normal, so make sure you provide measurements for both.
4. Be very accurate, down to the 1/8 inch. Measure from crack to crack, or feature to feature.
Taking photos alongside measurements is especially helpful. Images give designers context for curves, door handles, trim lines, and other features that affect how the vinyl will lay. Even small details like fuel caps, ridges, or panel gaps can influence how graphics are placed and where seams may need to be hidden.
It’s also important to think about how the design will be viewed in real life. Door seams, sliding panels, and curved surfaces can all interrupt graphics if not accounted for during layout. That’s why precise measurements paired with clear photos help ensure the final design looks intentional rather than forced onto the vehicle.
For more information about the vehicle wraps and lettering we create at Elmark Sign Company, visit our Vehicle Wraps & Lettering page, reach out to us online, and/or call us at (610) 692-0525.
Our Signs
Explore custom signs by category and see what's possible.

ADA & Braille Signs
%201.avif)
Acrylic Panel Signs
Carved Signs

Dimensional Letters

LED Illuminated Signs
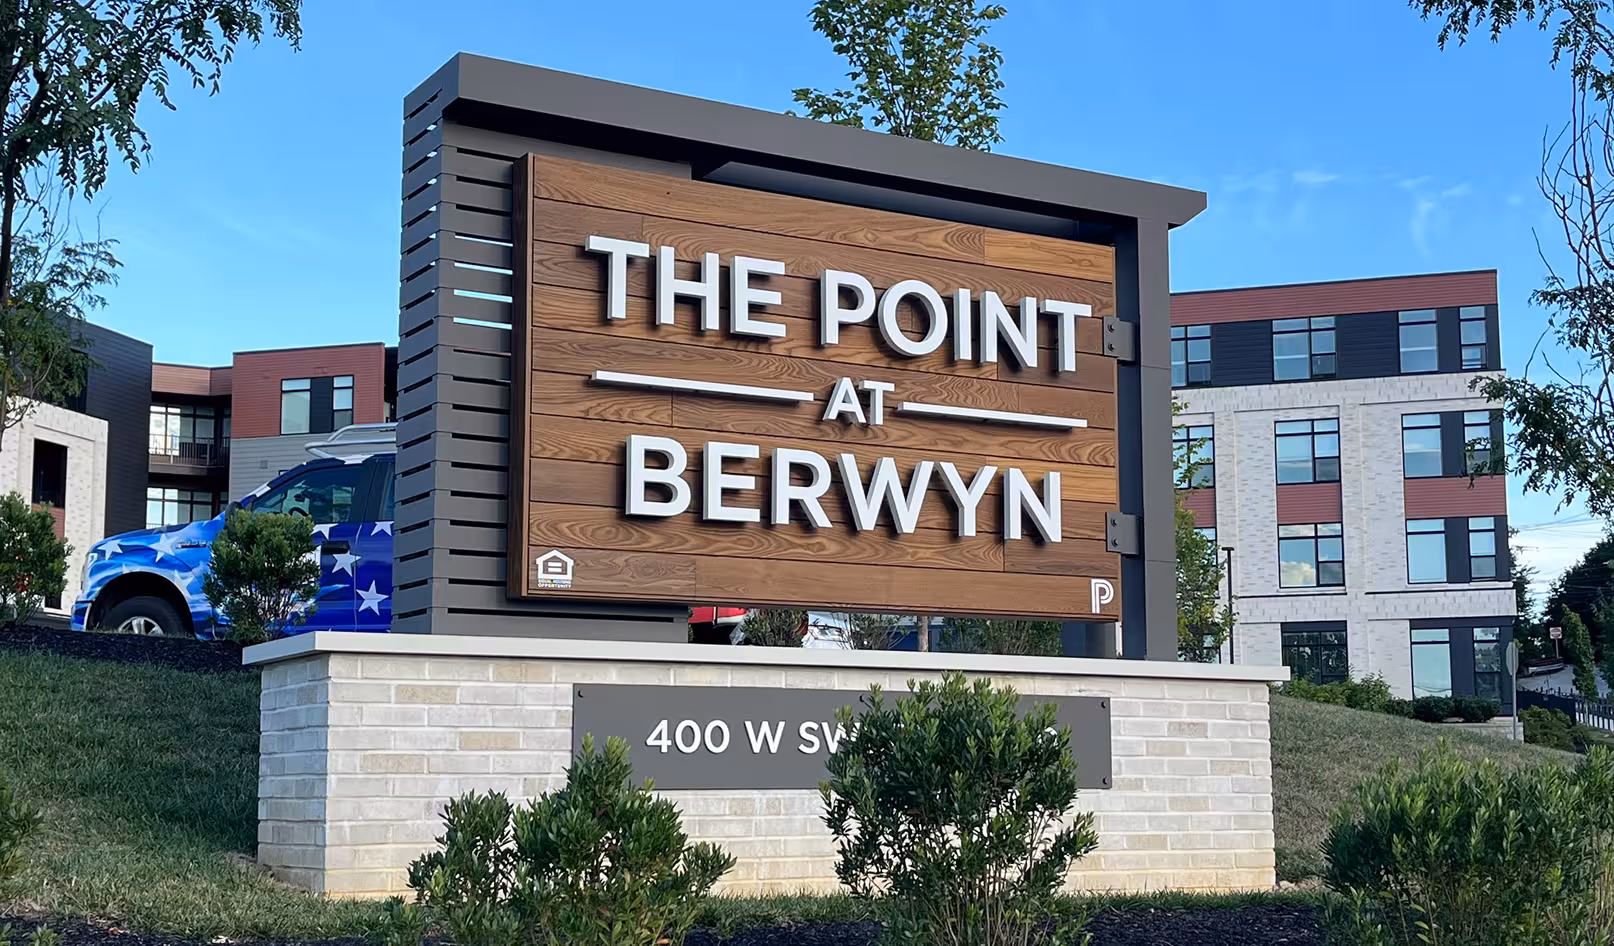
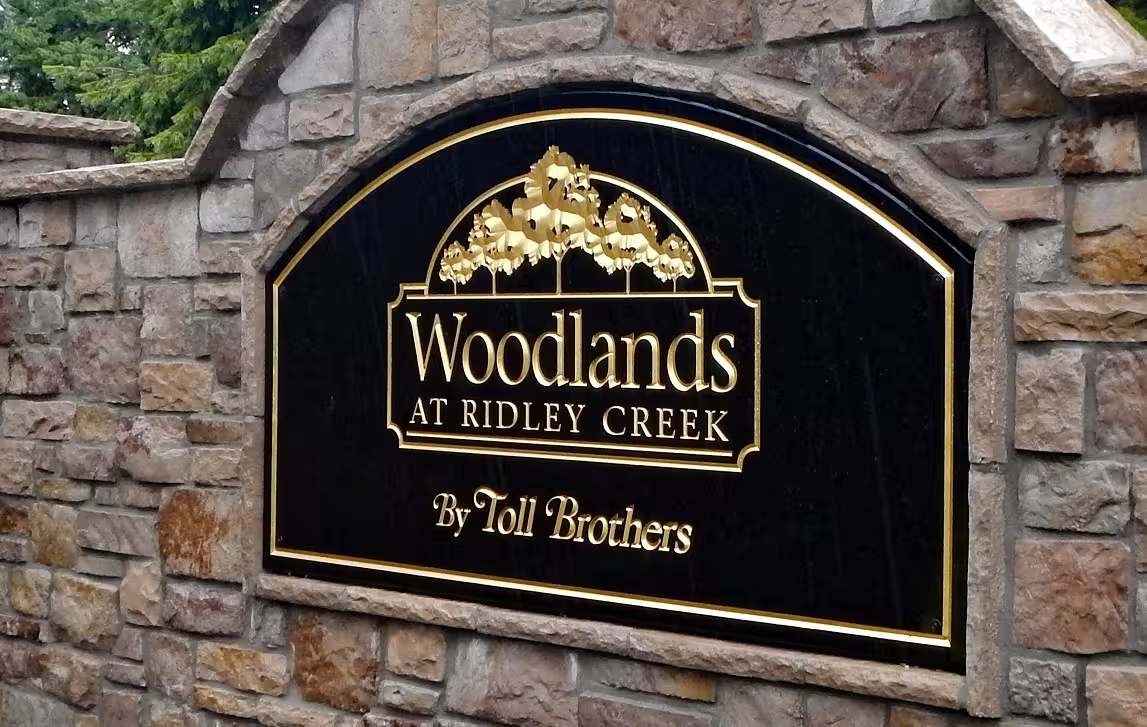
Monument Signs
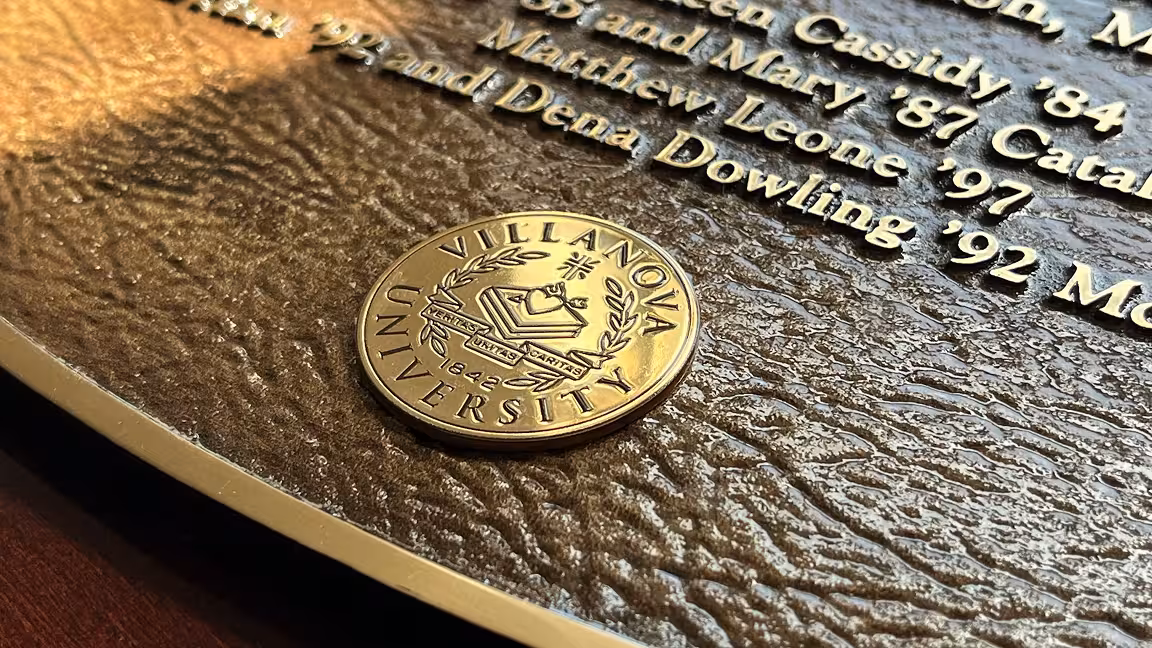
Plaques
Vehicle Wraps & Lettering
Wall & Window Vinyl
Wayfinding Signs
Let Us Make Your Perfect Sign
Main Office

Tell us about your project